
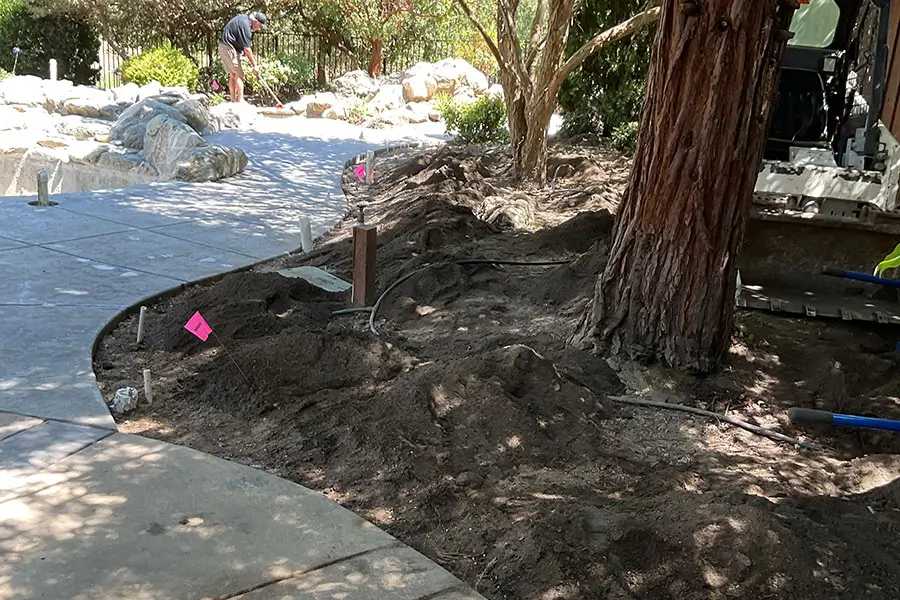
Skipping the planning stage, spacing fixtures poorly, choosing the wrong fixture type, ignoring color temperature, clashing with the surrounding environment, lighting everything at one flat level, going too bright, and skipping maintenance are the eight mistakes that most often turn a promising lighting project into a disappointing one. Each is straightforward to avoid once you know what to look for before fixtures go in the ground.
Across the Sacramento region, we see the same handful of issues surface again and again, usually because a lighting project was approached fixture first rather than design first. The good news is that every mistake on this list has a clear fix, and most of them cost nothing extra to get right the first time.
1. Overlooking the Importance of Planning
Skipping the planning phase is one of the biggest mistakes homeowners make. Good lighting is not just about choosing attractive fixtures, it is about strategy. Start by picturing the mood you want after dark and how the space will actually be used at night, whether that is quiet evenings on a patio or hosting guests around a fire feature.
Sketching a rough layout that notes plants, pathways, and focal points before buying a single fixture prevents two of the most common downstream problems, glare in unwanted places and gaps where light is actually needed. A plan built around how the space functions, not just how it looks in daylight, is what keeps the finished result cohesive with the home’s architecture rather than feeling bolted on.
2. Inadequate Fixture Placement
Poor fixture placement undermines even a well chosen set of fixtures. When lights sit too close together or too unevenly spaced, a yard reads as cluttered in one section and dim in the next.
A few adjustments fix most placement problems. Aim fixtures at genuine focal points, a specimen tree, a piece of statuary, a water feature, rather than lighting everything with equal intensity. Position path and step lighting so it grazes the walking surface gently rather than shining directly into a guest’s eyes. Combine uplighting, downlighting, and path lighting across the same space rather than relying on a single fixture type throughout, which is what actually creates a sense of depth after dark.
3. Using the Wrong Type of Fixtures
Selecting the wrong fixture for the job is a common and avoidable error. A harsh spotlight in an intimate garden bed or a dim path light along a long driveway both create the same problem, a mismatch between fixture output and what the space actually calls for.
Matching fixture type to function solves this directly. Path lights belong along walkways, uplights suit trees and vertical features, and wall washers are built for bringing out texture on stone or stucco surfaces. Fixture material matters just as much as type, since weather resistant options like brass or stainless steel hold up far longer than cheaper aluminum housings that chalk and corrode within a few seasons.
4. Neglecting Light Temperature
Color temperature shapes the entire mood of a landscape, and mismatched temperatures across a property are one of the more common reasons a lighting design feels off without an obvious explanation.
Warm white in the 2700K to 3000K range creates a cozy, inviting feel suited to patios, entries, and garden beds. Cool white in the 4000K to 5000K range highlights architectural lines well but can feel harsh in a softer garden setting. Daylight temperatures from 5000K to 6500K make colors pop but tend to look sterile if used across an entire property rather than in a targeted spot. Choosing one consistent temperature family for a property, with maybe one intentional exception for a specific accent, keeps the overall effect welcoming rather than visually jarring.
5. Ignoring the Surrounding Environment
Lighting that ignores its surroundings disrupts the natural flow of a yard. Sleek modern fixtures in a rustic cottage garden, or bright lighting positioned near a reflective pool surface without accounting for glare, both create visual clutter rather than cohesion.
Coordinating fixture finish, brightness, and placement with the existing landscape produces a far more harmonious result. A property with mature trees and natural stone calls for a different lighting approach than a newer build with clean architectural lines, and a design that respects that distinction reads as intentional rather than generic.
6. Why Does My Landscape Lighting Look Flat
Flat lighting design lacks dimension, and it is one of the more common complaints homeowners have about a system that technically works but somehow does not look right. The fix is layering, using more than one type of lighting across the same space rather than a single uniform level of brightness everywhere.
A layered approach typically includes ambient lighting for overall visibility, task lighting for functional zones like a patio or outdoor kitchen, and accent lighting to spotlight plants, statuary, or textured surfaces. Layering these together, rather than choosing just one, is what gives a yard warmth, depth, and a sense of intentional design after dark. Homeowners planning lighting alongside a new patio or outdoor kitchen get the best results when task lighting is designed into the space from the start rather than added afterward.
7. Why Does My Outdoor Lighting Feel Harsh Instead of Inviting
Brighter is not always better, and flooding a yard with strong light is one of the more common overcorrections homeowners make after feeling like their lighting was too dim. The result usually washes out detail and creates glare rather than the polished look that was intended.
Softer lighting on key focal points, paired with intentionally dimmer zones elsewhere, creates the kind of contrast that reads as natural and inviting rather than uniform and flat. Dimmable, zoned systems make this adjustable rather than fixed, so a property can shift from a bright entertaining setting to a quieter, softer mood without needing separate fixtures for each.
8. Skipping the Maintenance Routine
Neglecting upkeep is one of the easiest ways to let a well designed system decline in appearance over time. Dust and dirt accumulate on lenses, bulbs dim or burn out unevenly across a property, and wiring exposed to seasonal moisture and soil movement can develop corrosion or loose connections without any obvious warning sign.
A basic annual routine, cleaning fixture lenses, replacing dim or failed bulbs so brightness stays consistent across a system, and inspecting wiring and connections for wear, keeps a lighting design performing the way it did on day one. Skipping this step for a few seasons is often what turns a small fixable issue into a larger repair, particularly for properties with mature trees or pathway hardscape where roots and soil movement affect buried cable over time.

Frequently Asked Questions About Landscape Lighting Mistakes
How do I choose the right wattage for my landscape lights
Lower wattage fixtures suit subtle, ambient lighting where a soft glow is the goal, while higher wattage suits functional areas like entries or task zones where more visibility matters. Testing a few fixtures at different output levels before committing to a full property plan helps confirm the right balance for a specific space.
Can I mix different lighting styles in my landscape design
Yes, mixing styles works well as long as the fixtures complement each other and the home’s architecture rather than competing for attention. A cohesive finish palette and consistent color temperature across the property help different fixture styles read as one intentional design rather than several unrelated choices.
What materials work best for outdoor lighting fixtures
Brass, stainless steel, and quality aluminum all hold up well against sun, moisture, and temperature swings when properly sealed. Brass and stainless steel in particular develop a durable finish over time, while cheaper unsealed housings tend to chalk, pit, or corrode within just a few seasons of outdoor exposure.
How can I improve safety with landscape lighting
Path and step lighting reduces the everyday risk of trips and falls, while motion sensors near entrances and driveways add a layer of security without keeping every fixture on all night. Layering safety focused lighting into the same design used for aesthetics avoids the harsh, uneven look of lighting added purely as an afterthought.
What is the average lifespan of outdoor lighting fixtures
High quality LED fixtures with brass or stainless steel housings commonly last twenty to thirty years with routine care, considerably longer than budget fixtures with weaker seals or housings. Proper installation and a basic annual maintenance routine both play a large role in reaching that upper end of the range.
Getting Landscape Lighting Right the First Time
Creating landscape lighting that actually holds up, both in appearance and performance, comes down to strategy, balance, and consistent upkeep rather than simply installing fixtures and hoping for the best. Avoiding the eight mistakes covered here is usually the difference between a system that looks custom and one that feels like an afterthought.
Adams Pool & Landscape Specialties designs and installs landscape lighting across the greater Sacramento region with these principles built into every plan from the start. If your current lighting feels flat, uneven, or harsh, or you are planning a new design from scratch, schedule your landscape lighting consultation today and our team will walk the property with you before any fixtures go in the ground.