Installing a patio may seem like a big task, but with the right strategy, it can be one of the most rewarding upgrades to your home. From planning and design to proper materials and maintenance, every detail matters. With professional insights from Adams Pool & Landscape Specialties, you can turn an empty backyard into a stylish, functional outdoor retreat. Here are ten proven tips to help you achieve a flawless patio installation.
1. Choose the Right Location
Selecting the right spot is the foundation of a successful patio installation. Consider how sunlight, shade, and views affect comfort and aesthetics. Ensure easy access from your home and nearby amenities like the kitchen or pool area. Don’t overlook privacy—natural elements like shrubs or fences can create a cozy atmosphere while maintaining openness.
2. Plan for Proper Drainage
Proper drainage is crucial to prevent standing water and foundation damage. While it’s possible to calculate slopes and install drainage yourself, even small miscalculations can lead to water pooling or erosion over time. A professional can accurately assess your yard’s grading and recommend drainage systems such as French drains or permeable pavers that blend seamlessly with your patio design. Getting expert input early ensures your patio stays safe, dry, and structurally sound for years.
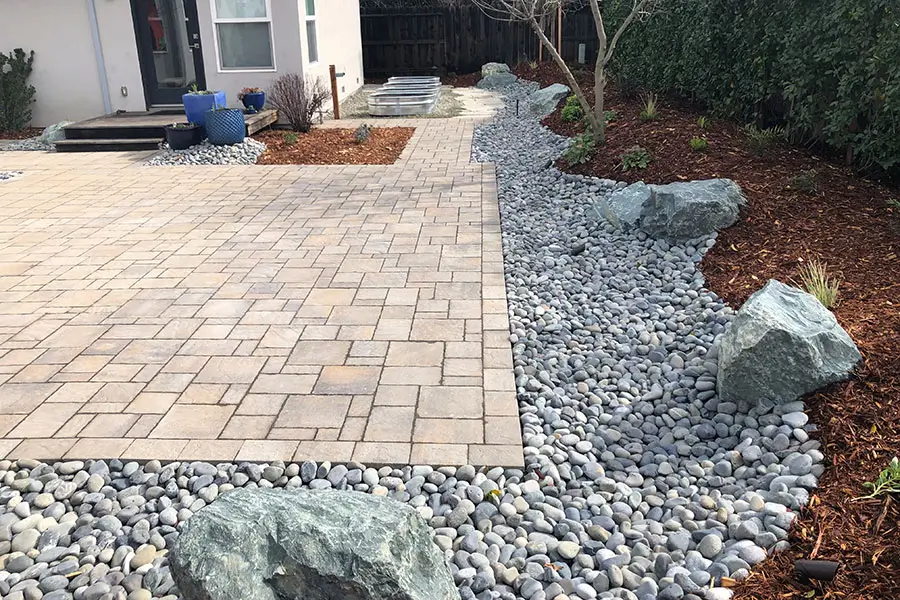
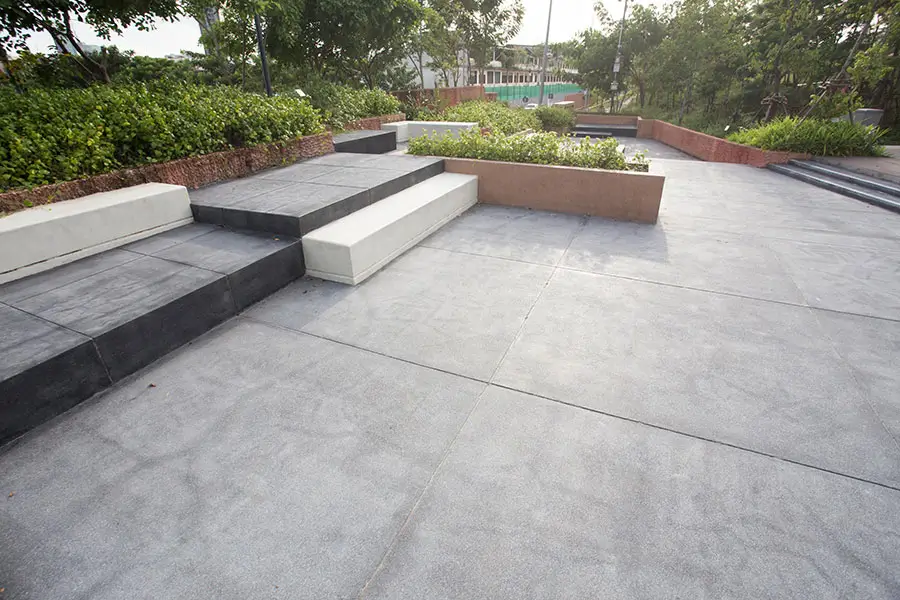
3. Select Durable Materials
The right materials define both style and longevity. While DIY stores offer plenty of options, not every material suits your climate or soil type. Professionals can guide you on whether natural stone, pavers, or concrete will best handle local weather and moisture levels. They’ll also help with proper sealing and finish selection to prevent cracks and discoloration. A brief consultation can save you from costly replacements later and help you achieve a durable, polished result.
4. Create a Solid Foundation
A strong base is the most critical part of a lasting patio. Though compacting gravel and leveling sand sound simple, this step demands precision and the right equipment to avoid shifting or uneven surfaces later on. Professionals use plate compactors and grading tools to ensure even weight distribution and proper drainage beneath the patio. If you prefer to handle it yourself, consider having an expert inspect the base before you install materials — a small investment that guarantees long-term stability.
5. Ensure Accurate Measurements
Precision is key to achieving a professional finish. A slight misalignment during setup can affect the entire layout. While you can measure and mark the area using basic tools, professionals bring laser levels and layout software that ensure perfect alignment — especially important if your patio includes patterns or curves. Even if you take the DIY route, getting expert verification of your measurements can make a noticeable difference in the final outcome.
6. Design With Purpose
A great patio combines beauty and functionality. Decide how you plan to use the space—whether it’s for dining, lounging, or entertaining. Consider shapes and layouts that complement your home’s style. Incorporate built-in features like seating walls or fire pits for convenience and visual appeal.
7. Integrate Landscaping Elements
Blend your patio into its surroundings with thoughtful landscaping. Border it with flower beds, ornamental grasses, or decorative stones to create a seamless transition. Add climbing plants or pergolas for shade and vertical interest. Strategic lighting can enhance ambiance while improving nighttime safety.
8. Use Quality Tools and Equipment
Even a well-designed plan needs reliable tools. Use durable, ergonomic equipment to ensure precision and comfort throughout the process. A plate compactor, level, and masonry saw can help you achieve clean lines and even surfaces—essential for a professional-looking patio installation.
9. Follow Local Building Codes
Before beginning construction, check local building codes for permits or setback requirements. These rules ensure safety, compliance, and neighborhood harmony. Proper documentation also protects your investment, especially if you plan to sell your home in the future.
10. Maintain Your Patio Regularly
Maintenance keeps your patio looking new and performing well. Sweep away debris, clean stains promptly, and reseal surfaces every few years. Check for cracks or shifting stones and address them early to prevent costly repairs. Routine care extends your patio’s lifespan and preserves its beauty season after season.
Frequently Asked Questions
How Much Does Patio Installation Cost?
Most patio installations range between $1,500 and $5,000, depending on materials, design, and labor costs. Always budget for permits and site preparation.
Can I Install a Patio Myself?
DIY patio installation is possible for smaller spaces, but professional installation ensures proper grading, drainage, and durability.
How Long Does a Patio Installation Take?
A standard patio installation typically takes one to two weeks, depending on size, design complexity, and weather conditions.
Do I Need a Permit for Patio Installation?
In many areas, yes. Always check local regulations before starting construction to avoid fines or delays.
Conclusion
A well-planned and properly executed patio installation enhances your home’s beauty, comfort, and value. By following these expert tips, from choosing materials to maintaining your space, you’ll create a lasting outdoor retreat that fits your lifestyle. For homeowners seeking professional craftsmanship and design expertise, Adams Pool & Landscape Specialties delivers reliable patio installation services that turn your vision into reality. Your dream outdoor space is closer than you think. Start planning today.